Saved Reports
There’s a new way to organize your data in Book Report: Saved Reports. Configure a report exactly how you want it — choose dates, filters, and layouts — and then switch between your custom setups with ease. Our new Saved Reports feature makes it effortless to manage multiple views of your data, without needing any extra clicks. It’s a fresh, more streamlined way to keep your sales insights at your fingertips.
"With Saved Reports I no longer have to reset the filters to look at my most important sales data, I can now save them and have them available with a single click. This is going to save me so much time!"
— Rosa Swann, Author and Founder of Easily Distracted Media
Introducing Saved Reports
When you create a report, you can dial in exactly what you want to see and how you want to see it. Here’s what goes into each report:
- What data should be included? You can use date and attribute filters so that a report only includes the data you want to see. Along with dates and custom attributes, Book Report automatically detects 16 attributes of your sales data, and you can filter your data based on any of them.
- How should this data be displayed? Book Report offers nine report components, including our recently powered-up details table, each of which can be customized to suit your needs, and you can choose which to include using the Edit Layout button.
- What should the report be called? Give each of your reports a name, so you can easily switch between them.
These three elements combine to create a powerful tool for organizing your data. You can create a saved report for any aspect of your data that you want to check in on regularly, and once it’s created, that report is just a couple of clicks away.
Filtering reports now leads to faster load times. For instance, if you filter your report to include sales from one of your five pen names, the report will load around five times faster than before.
Using Saved Reports
It takes two clicks to create your first saved report: Click the Historical tab, then click “+ Create Saved Report”. That will bring you to a new saved report, with all your settings from the Historical tab. From here you can customize your new report, and all your changes are automatically saved. If you want to create another report, or switch between your reports, simply click the tab again to bring up the drop-down menu.

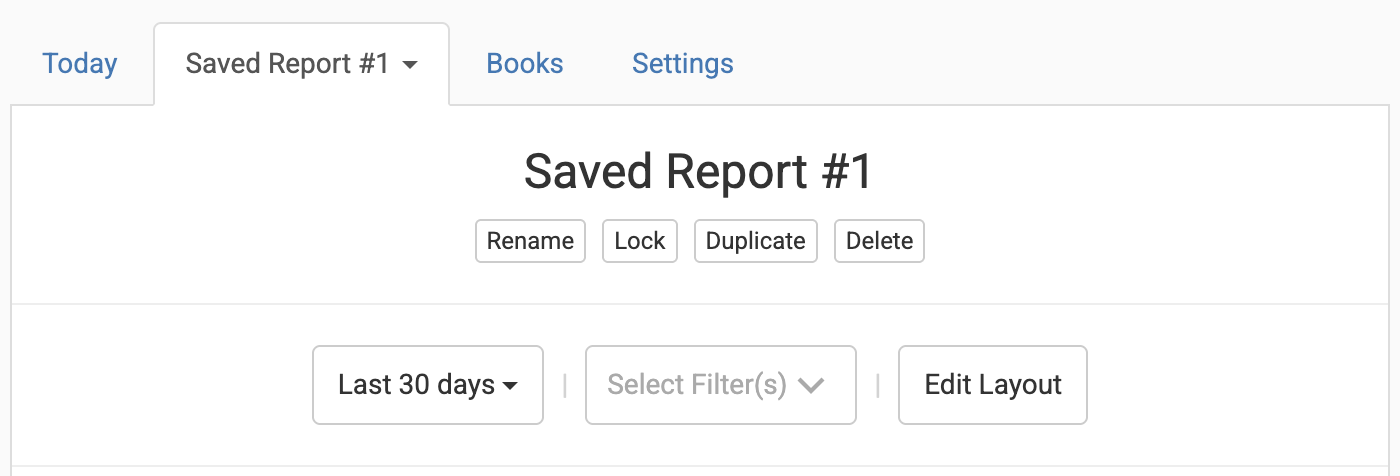
Beyond the options on the Historical tab, a saved report will have four new buttons:
- Rename: Use this to give your report a meaningful name, so you can tell your reports apart.
- Lock: Once you have a report set up, you can click “Lock”. Once a saved report has been locked, it can’t be changed until you unlock it. If you try to change an option on a locked report, you’ll be moved to a temporary report with that option changed, but your saved report will remain unchanged.
- Duplicate: This creates a new saved report with all the same options as the current saved report.
- Delete: It’s easy to remove a saved report if you don’t need it anymore.

If you already have an account, please click here to launch Book Report to explore these new features; if you don’t have Book Report yet, please click here to get started. Saved Reports will streamline your publishing data workflow, and the best way to experience it is to see it in action with your own data.
Spread the Word
If you know someone who runs a complex indie publishing business, this feature might be a game changer for them. Book Report has always found new users from word of mouth - it means a lot when folks share our updates with their networks. Thanks in advance!
